
Framing your artwork is like choosing just the right outfit for a special occasion — it should enhance what’s already beautiful and help it stand out, but it shouldn't steal the show. Whether you’re an artist preparing for an exhibition, or you’ve purchased your first dream original artwork, knowing how to frame (and hang) art properly is key.
This is by no means an exhaustive guide, just what I have learned along the way including links to the local Auckland suppliers I have found and love.
Why framing matters
A good frame makes your art look polished and it protects the work from dust, sunlight, and damage. It can also help define the mood or context of a piece. The right frame can make a casual piece feel more elevated, or a minimalist work feel even more modern and clean. Picking work up from the framers is one of my favourite treats!
Step 1: What type of frame?
When selecting a frame, consider:
- The style of the artwork - Abstract, realistic, bold, delicate?
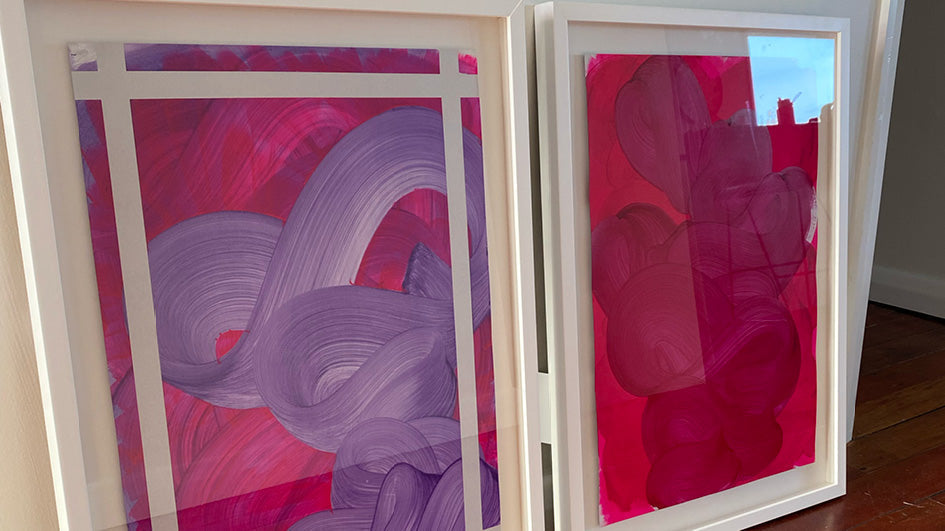
- The colours in the piece - Pick a frame that complements, not competes.
- The space where it will hang - Will it be in a bright hallway, a living room, a gallery?
Some classic frame choices:
- White or black frames - Clean and modern, great for contemporary work & to let the artwork shine. I always choose white for a gallery feel, but black is a whole other mood and can work really well for the right piece.
- Wooden frames - Warm and natural, perfect for earthy tones or organic subjects. Not usually a choice I would make for my style of work but very popular.
- Ornate frames - intricate and antique-looking - might be chosen to add drama or create visual tension, historically more gilded frames would signal value or importance.
- Metal frames - Sleek and minimal, usually used for photography or modern prints or to make a statement about materiality.
Step 2: How should it be framed?
Standard frame
What you would probably imagine when you fist think of a frame. Classic and simple, the picture goes right up to the edge of the frame. Typically used for posters and photographs and in most cases the most economical option.
Use if:
- You are on a budget.
- You're framing posters, printed reproductions or photographs.
- You want pre-made and have a standard sized work (A4, A3, A2 etc).
You can get a variety of different styles and sizes, most pre-made options come in black, white and oak, in box style or classic. This is the type of frame you will get for the printed reproductions when you choose the framed option in my shop.

Matting
A mat (or mount board) is a border of card placed between the frame and the artwork, so the artwork sits underneath. It gives the piece some breathing room, separates it from the glass and adds a gallery-style vibe.
Use a mat if:
- You want to elevate the look with some breathing space.
- You're framing works on paper like drawings, watercolours, or prints.
- To keep the artwork from touching the glass.
Choose neutral tones (white or off-white) for a classic look, or coloured mats for something bold. I would choose this type of framing if you wanted to really level up a printed reproduction , and for some originals on paper.

Float framing
Float framing is when the artwork is raised or suspended within the frame, usually on top of a backing board, with space between the edge of the piece and the frame. This method showcases the edges of the artwork - perfect for more gestural works. This would always be my preferred method for framing my originals on card.
Why float frame?
- It highlights the edges and gives a sculptural, dimensional feel.
- It’s great for artworks on thick paper or canvas boards.
- It looks super elite and gallery-ready.

Float framing for canvas or box board works
If you have a canvas or box board work and you would like to have it finished in a frame for a more polished look, you can have a float frame made to fit. This type of frame does not have glass in front of it or space around it, the work sits nicely inside the frame, as if it were in a box.
For when:
- You have a canvas or box board work (works with greater depth than paper)
- You don't need/want to be able to see the sides of the work
- To give it a more professional and elegant finish

Art mounting
Art mounting refers to attaching the artwork directly to a backing board. This can be done professionally, results in a sleek finish, and the works are super light for easy hanging. I love Artmount and Framing Matters in Eden Terrace, and have had great results with the 20mm option in white.
Mount your artwork if:
- You want a smooth, flat presentation.
- You have a large piece and you are on a budget.
- You want to keep the weight down.

Step 3: What type of glass?
Framing behind glass protects your art from dust, moisture, and UV damage. If you are framing professionally, glass will be a large portion of the cost.
- Glass - Traditional, scratch-resistant, and clear.
- UV Glass - Primarily focuses on blocking harmful ultraviolet (UV) rays to prevent fading and deterioration of artwork - add about 25% to cost of normal glass.
- Art glass - Emphasises reducing glare and reflections to enhance the clarity and visibility of the artwork - about double the cost of regular glass.
For original artworks on paper, the art should not touch the glass directly. It’s also worth mentioning that artwork should not be hung in direct sunlight if it can be avoided! Sunlight will cause the artwork to fade over time.
Step 4: DIY vs. professional framing
DIY Framing
Great for small works, prints, or when you’re on a budget. Ready-made frames (I love Factory Frames, and they also do custom framing at great prices) work well for standard sizes (A5, A4, A3 etc). You can also buy pre-cut mats or get them to cut to size. You will usually have to attach the hardware on the back of the frame for hanging on the wall yourself.
Professional Framing
Best for original or high-value pieces. A framer can help you decide what is best for your piece will also ensure the materials and processes used will protect your work long-term. I am a fan of Homestead Framers in Henderson, their service is excellent and the results are *chefs kiss*.
Step 5: Hang it properly
Once framed, make sure to hang your piece at eye level (around 145-150 cm from floor to center of artwork is recommended). Or, if hanging above a piece of furniture, you want to have a gap of about 20-30cm from the top of the furniture to the bottom of the work. Use proper hanging hooks and a level if you are using two hooks on either side of the work!
Final thoughts
Framing is a way to honour your artwork - to finish it, protect it, and maximise its impact. Whether you go for a clean mat, a dramatic float, or a minimal mount, aim to enhance, not overpower. While it is an investment in addition to actually purchasing the art itself, it is so worth it for you to be able to enjoy your artwork at its maximum potential. With the right approach, your artwork will not only look incredible, but also last well for years to come!